A Garden Tower Could Be
Your Wisest Investment
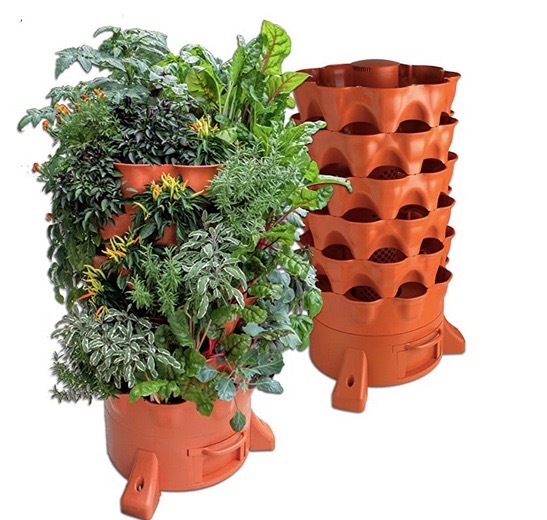
A garden tower is an awesome gardening system that combines vertical vegetable gardening and worm composting and could be one of the best investments you will ever make.
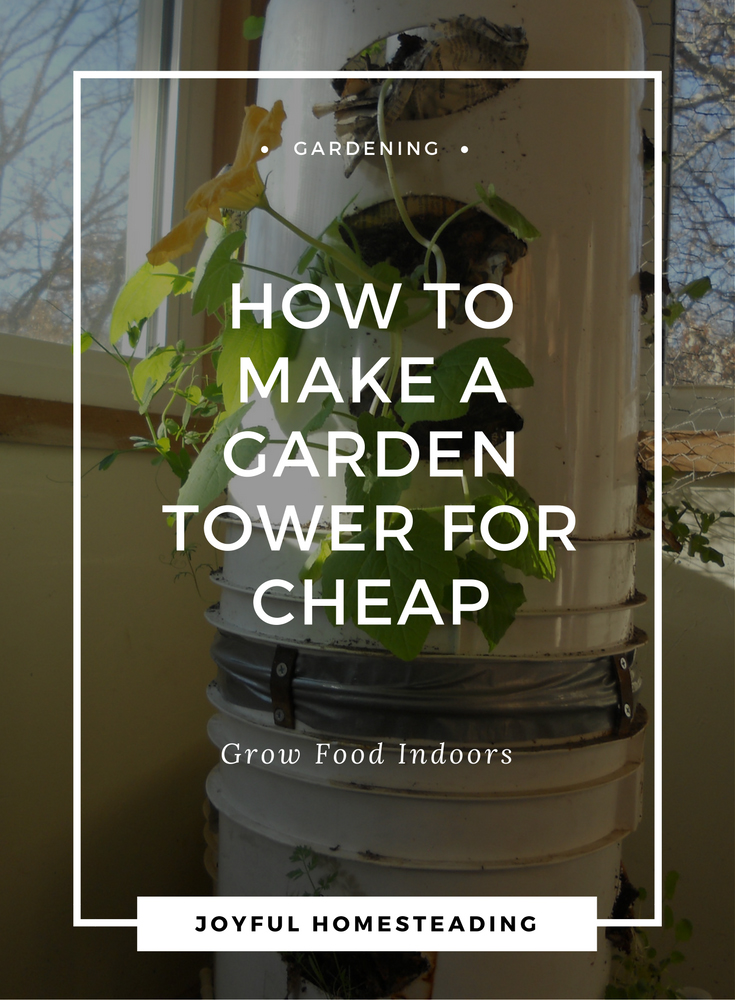
It's a great tool for people who have limited gardening space, or who have disabilities, or who want to garden year round. It's also a very cool solution for some of the many, unexpected problems that often plague gardeners, such as pest infestations, lousy weather and drought.
These days we are being constantly bombarded by news of ecological disasters, including the Fukushima core meltdowns that are wreaking havoc with our global food production. More than ever, it is up to individuals to produce more of their own food at home.
And a self-contained system, especially one that can grow a lot of food indoors in a small space just makes sense.
That's why this growing tower is such a great idea. It's a combination of worm composting, hanging gardens and vertical gardening all in one.
It's basically a round, plastic or terra cotta barrel with holes in the sides (for the plants) and a long, vertical tube in the center that has small holes drilled throughout (for the worms).
A garden tower like this one is a handy way to grow food in a limited space.
This amazing system, developed by the Garden Tower Project, doesn't take up much space, makes efficient use of water and allows people to grow food virtually anywhere, even in a closet, if you have grow lights.
How a Garden Tower Works
You put shredded newspaper, damp cardboard and worms in the center tube and growing medium in the rest of the barrel. Then you plant your garden seedlings in the holes in the sides of the barrel.
Each day you add ground-up kitchen scraps to the vertical tube and water your tower. The worms eat the scraps and travel from the center tube all throughout the soil, leaving their manure and constantly fertilizing and invigorating the soil.
It's designed to be a solution to the growing world hunger crisis, empowering all people - young and old, strong and weak, rich and poor - to grow their own food.
It's a great idea, and if you have an extra few hundred dollars on hand, I encourage you to buy this tower (find it here) as it would definitely be a wise investment. It's beautiful, sturdy and looks very easy to use.
But, if you don't have the money, you can make your own version for less than $100 if you buy the buckets, or even less if you use plastic buckets you have on hand.
You can also sometimes get leftover plastic buckets for free from the pastry department of a grocery store. (Bulk shortening is shipped in buckets).
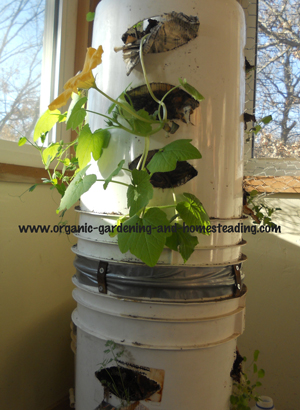
This is the one my husband made for me, and it works great at a fraction of the price, although it isn't as pretty as the one you can buy from Amazon.
If you want to know how to make one yourself, then read on; the instructions follow:
Supplies You Need
Here's what you need to build a garden tower.
- Two buckets
- One round pan (for catching drainage water)
- 1 five-foot long, four-inch wide, PVC pipe
- 1 12-inch long metal strap (typically used to hang PVC pipe), or brackets with holes in them
- 4 L-shaped brackets
- Screws
- Newspapers
- Cardboard
- Wood blocks, bricks or other material to make feet for your tower
- Worms (I got mine from a nearby bait shop. You can also order them online here)
You will also need to have and know how to use:
- Tin snips
- A power screwdriver with assorted bits
- A jig saw
- A handsaw or power saw
Getting Started
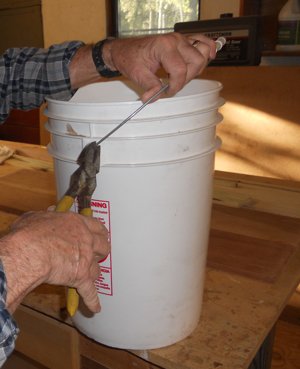
First thing you need to do is to remove the handles from your bucket.
My husband was able to pull the wire handles out with pliers.
Next, stack the two buckets one on top of the other and measure how tall they are together. Your PVC pipe needs to be a bit taller than this.
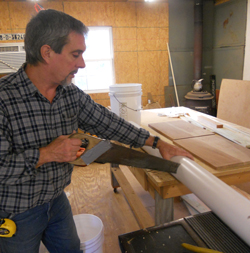
Cut your PVC pipe to the right length, using either a jig saw or a hand saw (shown).
Next, drill holes in the bottom of the bucket that will be at the bottom of your garden tower.
This allows for drainage. You need to make these holes small, so the worms don't escape.
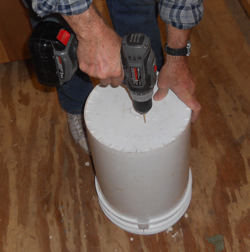
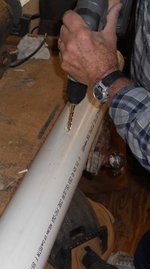
Next, drill holes all along the length of the PVC pipe on all sides.
These holes will permit the worms to travel from the compost to the soil and back again, so the holes here need to be larger. Rick used a wider drill bit for this.
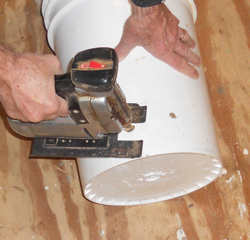
Now you need to cut holes in the bucket for the plants. Rick used the power drill first, drilling two holes, one on each side of the opening he wanted to make.
Then he used the jigsaw to cut the holes.
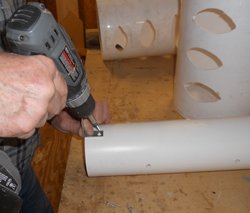
Then he screwed L-brackets to the bottom of the PVC pipe.
These brackets will hold the PVC pipe in place in the bottom bucket.
The tricky part was screwing the PVC pipe to the bottom of the bucket.
He poked a hole through the bottom of the bucket where each bracket hole was, while I marked it with permanent market on the other side. Then he screwed the pipe in place from the outside bottom in, so the screws would be pointing up rather than down.
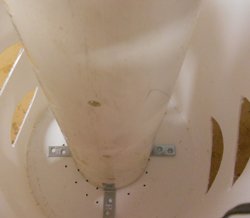
That way the screws were less dangerous, and out of the way when you moved the drainage tray in and out.
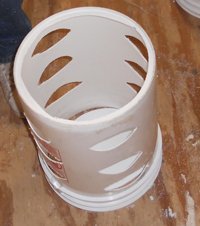
Then he removed the bottom from the top bucket.
Next, I filled my homemade garden tower with growing medium. I used one part peat/hummus, one part compost and one part vermiculite.
I lined the inside of the buckets with newspaper, so the growing medium wouldn't fall out.
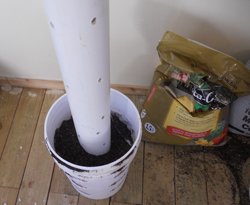
I then put the second bucket - the one with the bottom removed - on top of the first one and taped them together with duct tape. Rick later secured the buckets with brackets and screws.
I lined the inside of the second bucket with newspaper and then filled it to the top with growing medium.
The worms, along with shredded, damp newspaper and damp cardboard, go into the PVC pipe in the center. I loosely covered the PVC pipe with a dark cloth and a rubber band.
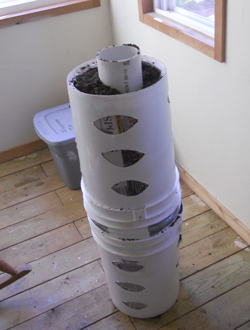
I wanted oxygen to get in, but to keep the light out, as earthworms prefer it dark.
I'm keeping my homemade garden tower inside in a sunny spot where I have southern windows, but I could also keep this tower in a darker place and supplement the light with a grow light.
This week I'm starting seeds indoors, and plant to transplant my seedlings to my tower in a few weeks. I hope to have an indoor garden this winter and post the results this coming spring.



New! Comments
Have your say about what you just read! Leave me a comment in the box below.